Blue Green Luffy Deck Guide (One Piece Card Game)
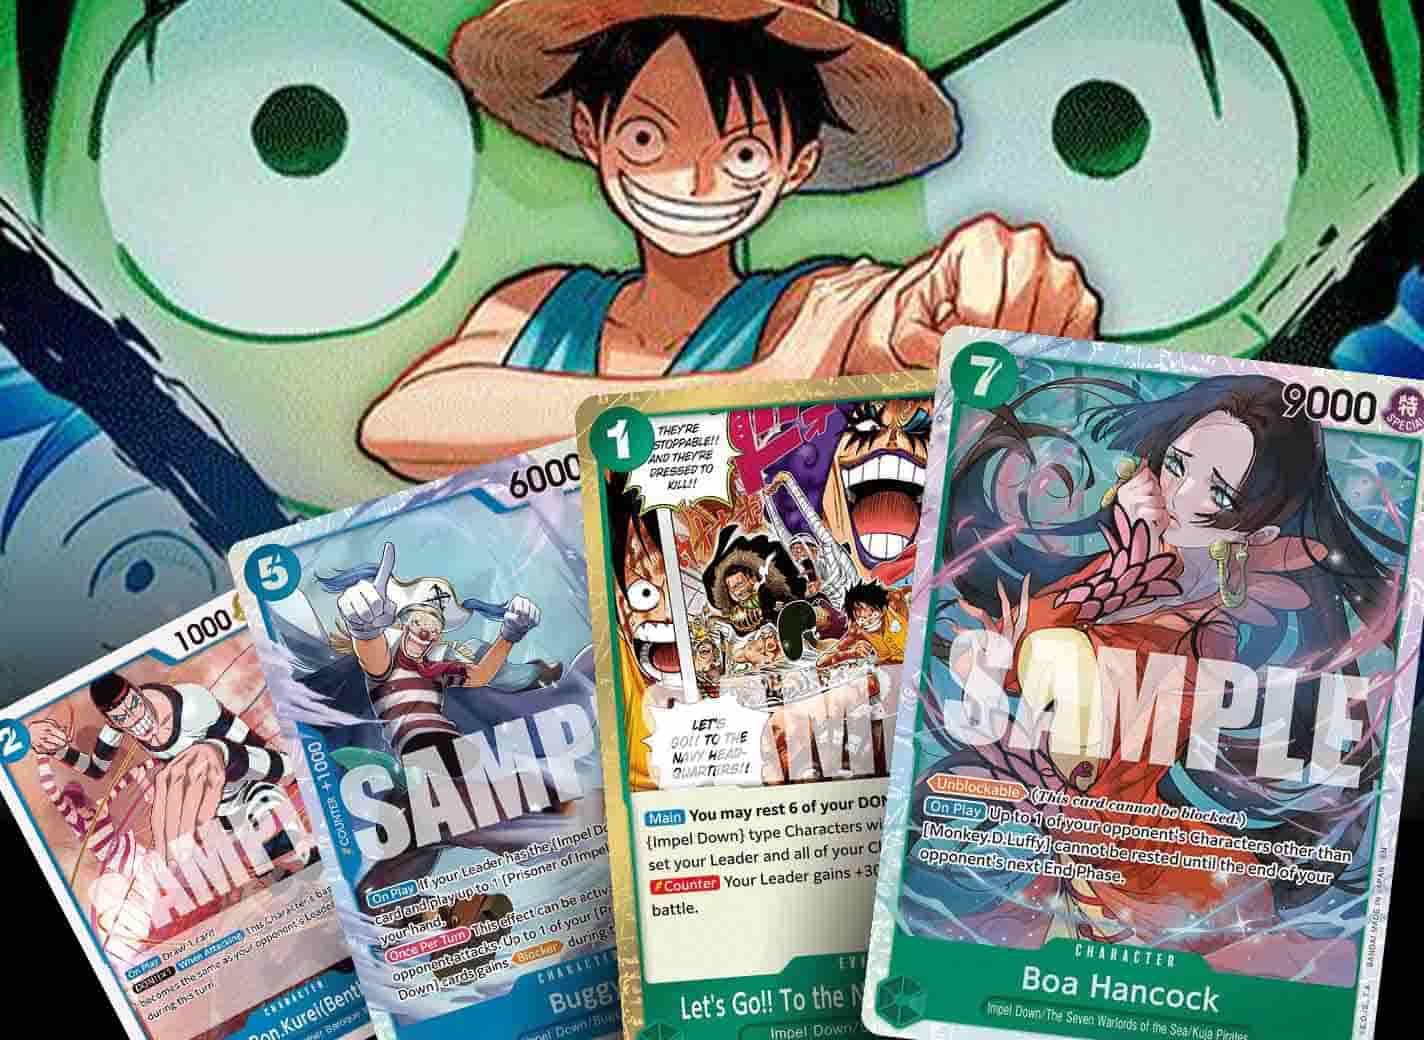
OP-16 Blue Green Luffy is one of the best decks in One Piece right now, and as one of the game's newer Leaders, it has the runway to stay relevant for sets to come.
Restanding up to two rested DON!! per turn cheats out a game-bending amount of tempo, doubling your Character output in the early turns without costing you card advantage thanks to early drops that replace themselves.
For all its power, though, the deck is full of nuance. Which, coincidentally, is what makes it such a joy to master. Here's a crash course on the game plan, the list, and the mechanics that separate a good Blue Green Luffy player from a great one.
Game Plan
Similar to past top-tier aggro decks like Blue Doflamingo and Red Rayleigh, the plan as Blue Green Luffy is to develop a wide board, then swing with as many bodies as possible when the time is right.
![Mr.2.Bon.Kurei[Bentham]](/cards/RED01XXOP16055OP16X696041.webp "Mr.2.Bon.Kurei[Bentham]")
![Mr.1[Daz.Bonez]](/cards/RED01XXOP16054OP16X696040.webp "Mr.1[Daz.Bonez]")
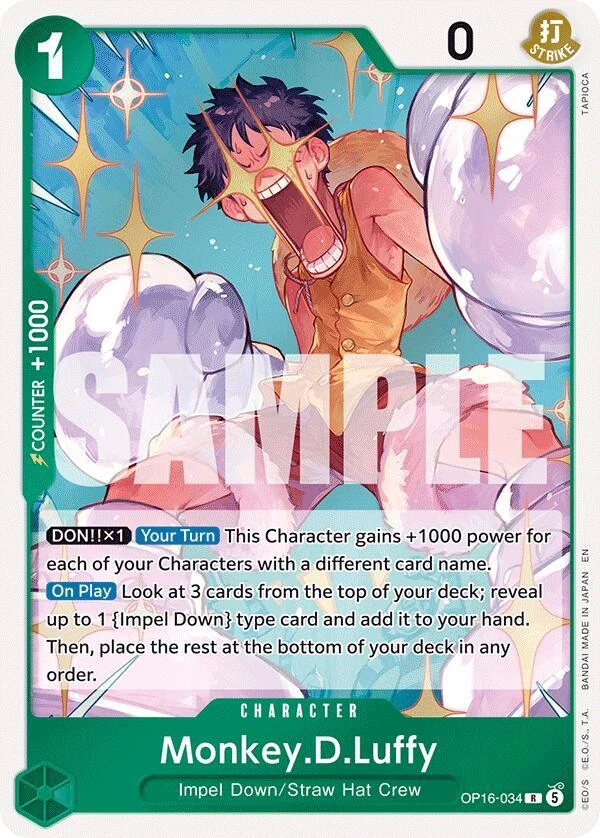
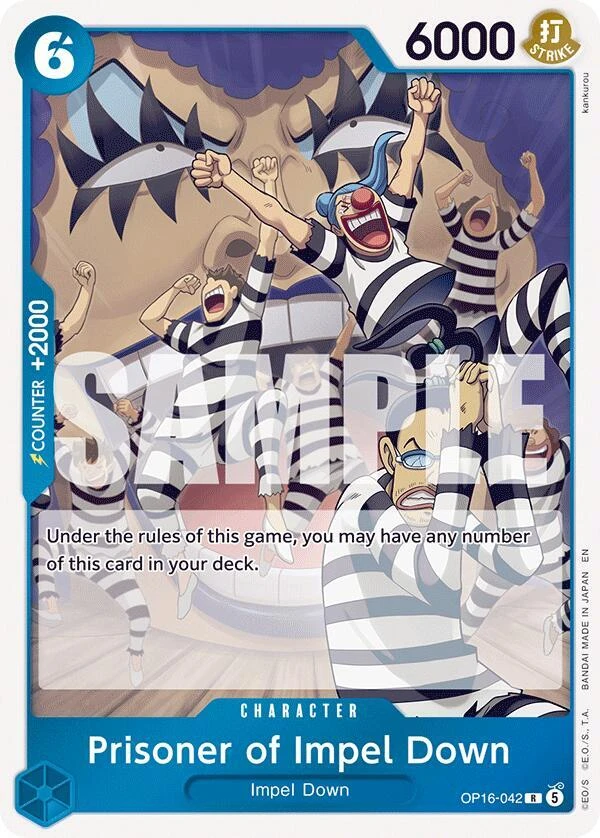
In the first couple turns, you want to find your early drops, using your Leader effect to play as many bodies onto the board as humanly possible. Going second is ideal for this, as you can play a 2-cost, restand the DON!!, play another 2-cost or Luffy, and end the turn with two or even three bodies on board. Going first, you'll want to focus on playing Buggy plus Prisoner on 5, or a Crocodile if that's not available.
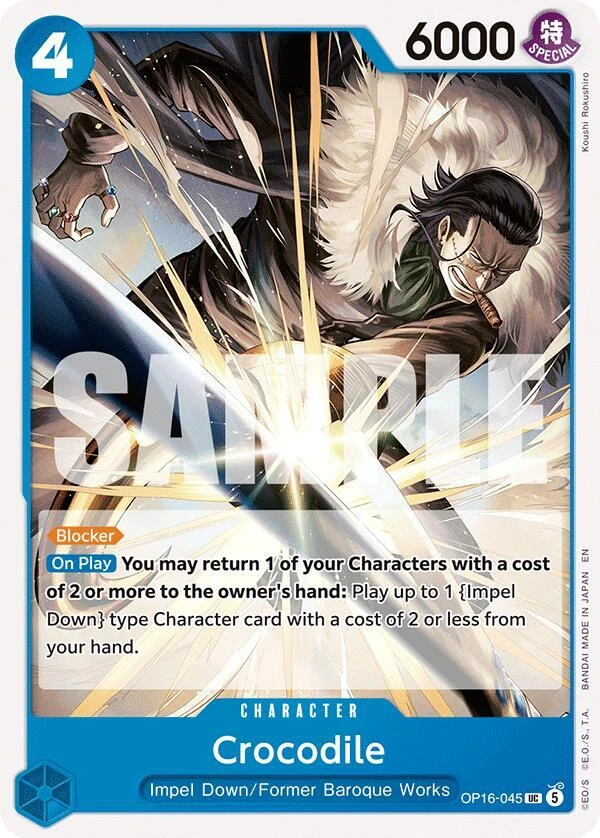
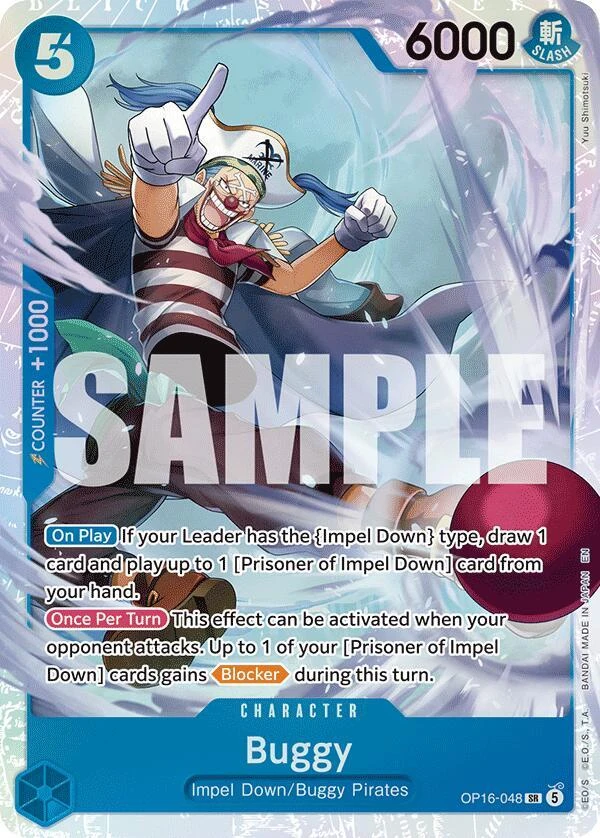
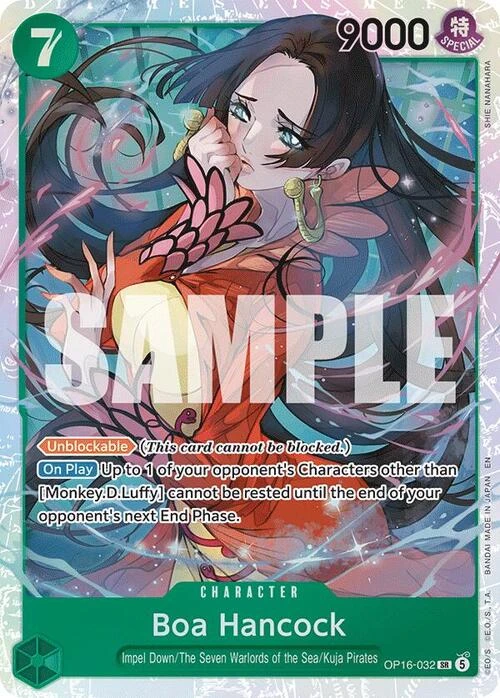
Midgame, don't stop developing. From six to ten DON!! you have enough combos that you can swing with the whole board, re-stand two DON!!, and rebuild. Hancock is usually the center of gravity here. If she's not, the fallback is Buggy plus Prisoner into a Mr. 3 freeze, or Buggy plus Prisoner into Crocodile bouncing a body back. Either way, focus on getting as much value out of your swings as possible while setting up for a potential Let's Go!! To the Navy Headquarters!!.
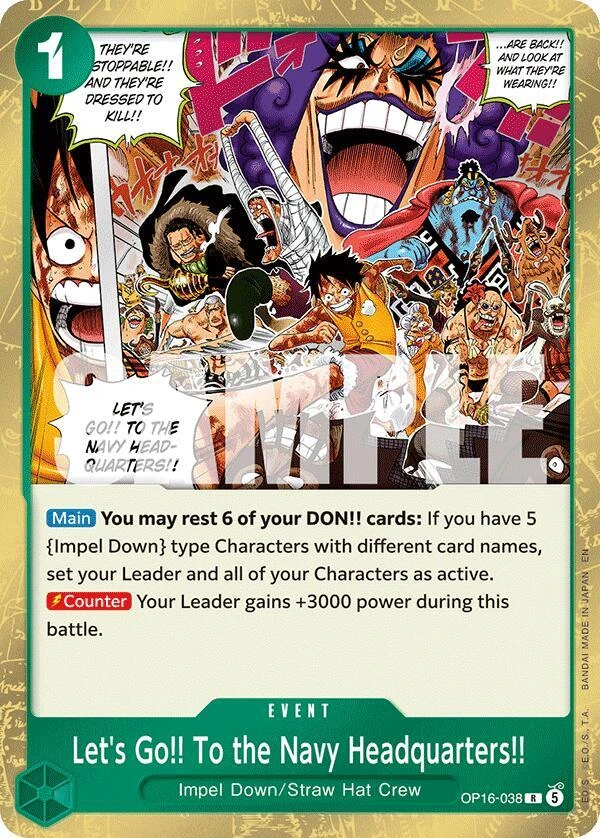
Late game, count. If you survive the next turn and don't get out-scaled, pressure your opponent's hand to increase your odds of successful lethal. If you need your bodies on board to successfully pull off your Let's Go!!, consider not swinging with certain bodies to better set yourself up.
Note, of course, that you won't always need it. Often, Hancock and a wide board are more than enough.
Decklist
(Deck image via Egman Events)
- 1 OP16-022 Monkey.D.Luffy
- 4 OP16-034 Monkey.D.Luffy
- 4 OP16-055 Mr.2.Bon.Kurei(Bentham)
- 4 OP16-054 Mr.1(Daz.Bonez)
- 3 ST30-014 Mr.3(Galdino)
- 2 ST12-010 Emporio.Ivankov
- 2 OP16-026 Emporio.Ivankov
- 4 OP16-056 Mr.3(Galdino)
- 4 OP16-045 Crocodile
- 4 OP16-048 Buggy
- 1 OP15-032 Brook
- 9 OP16-042 Prisoner of Impel Down
- 2 OP16-032 Boa Hancock
- 1 OP02-068 Gum-Gum Rain
- 1 OP12-037 Demon Aura Nine Sword Style Asura Blades Drawn Dead Man's Game
- 1 EB01-028 Gum-Gum Champion Rifle
- 2 OP16-038 Let's Go!! To The Navy Headquarters!!
- 1 OP11-061 Gum-Gum Jet Culverin
- 1 OP06-058 Gravity Blade Raging Tiger
(First place Treasure Cup list by railz0)
Key Cards
A one-cost searcher that can hit nearly every card in the deck (including another copy of himself), Luffy is the best card in the deck to open with going first. His power doesn't fall off in the late game either. Once you've got four differently-named Characters on board, he becomes a 5000-power swing off a single DON!!, or a quick way to enable your re-stand Event as you go for lethal.
The bread and butter of this deck, and arguably some of the best two-drops the game has ever seen. Both swing for 6000 off a single DON!! and draw a card on play. Mr. 2's ability to copy the opponent Leader's power makes it a slightly better body to play than Mr. 1, especially against Leaders like Nami that buff their own power.
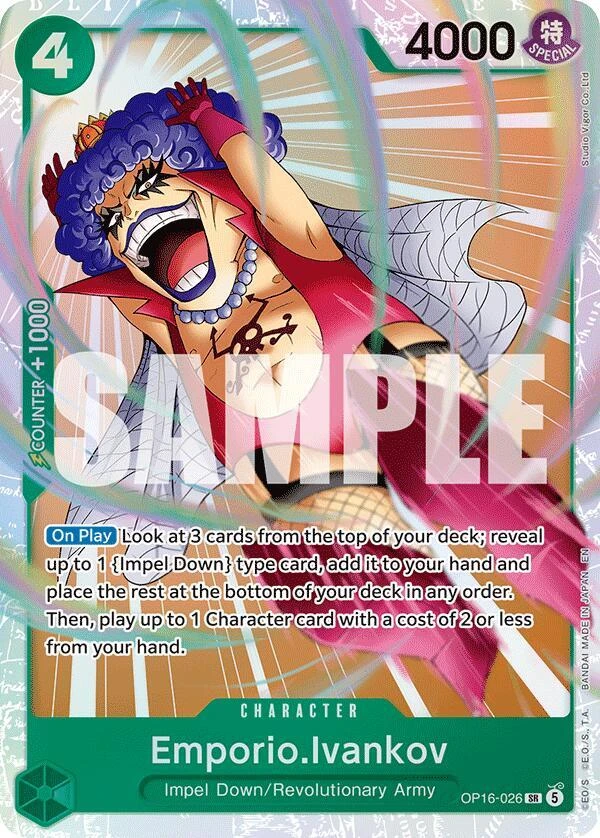
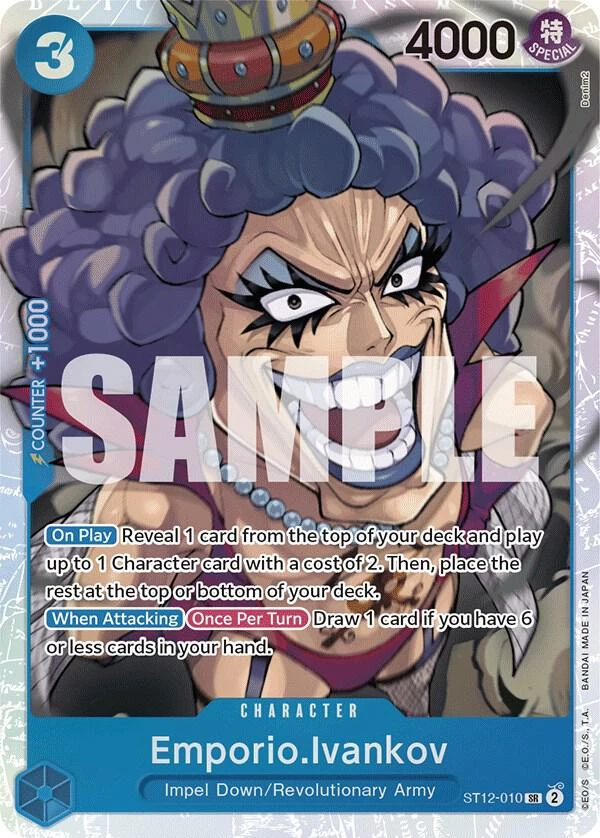
Both the three-cost and the four-cost SR Ivankov serve a similar function: they draw and play cards to help you swarm in the early turns without losing hand advantage. The blue one has been on the rise recently though. Even though it's not as consistent when it comes to playing another body, its ability to draw more cards makes it a lot more threatening on the board than its 4000-power statline suggests.
It might just seem like a way to have our two-cost bodies draw more cards by replaying them, but more importantly, Crocodile allows us to replay said card standing, which means your opponent can't trade into it. On the five DON!! turn, for instance, you can put a DON!! onto Mr. 1, swing, play Crocodile, bounce Mr. 1, and replay him.
By now, we already know Galdino is one of the best blue cards ever printed. And since this deck gives you back two DON!! every turn, you can essentially buy extra turns in the late game for just two DON!! while actively building hand advantage.
Do not underestimate this card, as it's one of the strongest tools in the deck if you know how to use it well. If you're trying to use the re-stand Event but only have four different-named Characters on board, you can play this, use its effect to attach a rested DON!! to your 6000-power bodies, swing with those, then restand your board including this. Since its effect isn't once per turn, you can then use it to refund 4 more DON!!, which is absolutely absurd.
This is the base of your midgame bread-and-butter, and key to your game plan against most decks. It cheats out a Prisoner of Impel Down, draws a card, and leaves you with two 6000 bodies and a blocker. Get a couple swings in, make valuable blocks, and you're ready to use Let's Go!! to finish off the game.
A 9000-power unblockable body for seven DON!! that freezes anything on play (besides Luffy cards of course) is a key ingredient that otherwise has trouble swinging tall numbers. Chain her into a Galdino and the opponent's board is practically locked up while you develop a huge threat, and that's not counting the fact it can swing twice when paired with Let's Go!!
More than just a 2000-counter card for protecting your precious 6000-power bodies, this is your midgame. Pair it with Buggy and go off to the races.
Initially, people underrated this card because they hadn't realized how game-breakingly strong it can be. But the ability to let you swing 12 (yes, 12!) times in a single turn is simply too strong to pass up. Even if you don't pull off the combo, the fact it counters for +3000 makes it an extremely-high-reward payoff for little or no risk.
Modifications and Techs
Paired with the +2000-counter Galdino and Leader effect, Gravity Blade can basically be used as a 1-cost removal monster that's potent in a wide spread of matchups. As with any deck that runs this card, try not to use it unless your board is already developed.
You know what they say: if you can't push through, go over. Paired with Boa Hancock, Brook is an extremely powerful finisher that lets you bypass some of the toughest defenses in the game. Just make sure you trash him and use his effect if you want to use your Leader effect since he's not an Impel Down Character.
A +2000-counter option that's usually just worse than Galdino.
The fact that this card can rest any blocker when it attacks means it's obviously a very good card, but it solves a problem this deck doesn't have, and for the price, you'd much rather be playing a Crocodile or Buggy/Prisoner combo.
Has an extremely high ceiling when the opponent doesn't expect it. That said, when it's bad it's very bad.
Works well in the mirror, but is far outshined by Gravity Blade when it comes to utility.
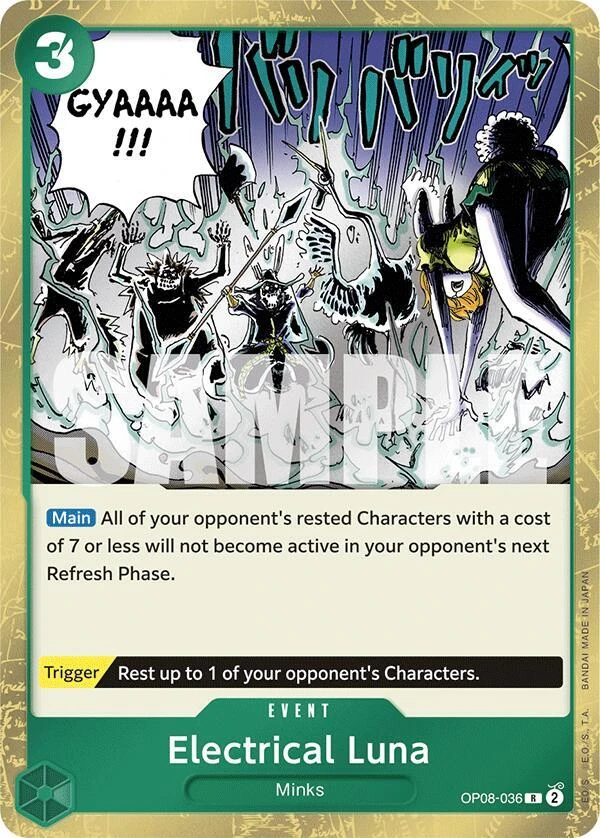
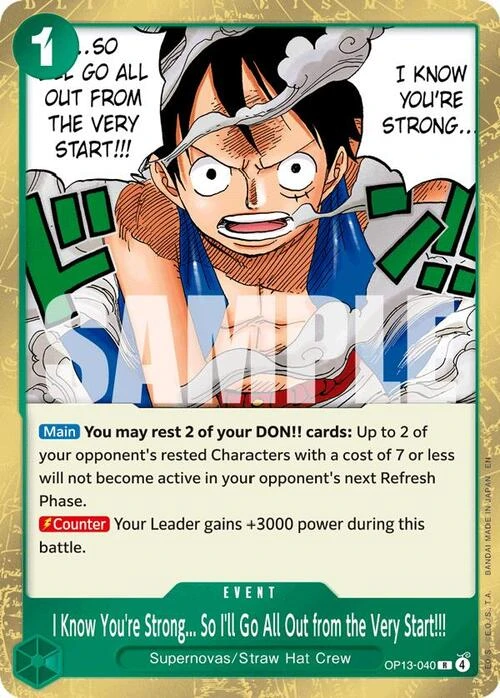
Electrical Luna and I Know You're Strong... are great cards, but Boa and four-cost Galdino are often all the freeze power you'll need to stay alive in close late-game scenarios.
Great against Enel as it can bottom deck their Reiju or Franky for four DON!!
Tips
Don't go in too fast.
The single most common error Blue Green Luffy newcomers fall victim to is swinging with everything immediately after playing it simply because the deck is aggressive. What you actually want is to go as wide as possible while keeping your Characters standing, and then attack when it's advantageous to do so.
Stay healthy by using offense as defense.
Four Life is a dangerous place to be in this meta, and this deck draws enough cards that countering early attacks is cheap enough to keep you around two or three Life without giving up too much hand size.
The nice side effect of keeping a healthy Life total is that it baits your opponent into attacking your board instead of your Life. Every turn they spend attacking your Characters is a turn you spend alive—drawing cards, stripping their hand, and building toward your lethal push.
Curate your board and swings.
Your bodies come in multiple flavors, and each has a different purpose. The 6000-power swingers are meant to stick for multiple turns, while the small ones are one-off attackers meant to gain incremental value.
When deciding what to swing with, keep in mind what you want to do with your future turns. If you have a wide board and are planning on playing a Buggy/Prisoner combo next turn that would require to replace one of your smaller Characters, swing with one of them now so that it can get an attack in and eat an opponent's attack before getting replaced. If you have multiples of a specific body, swing with one of the copies so that you can better set up your Let's Go!!
Don't expose the whole board at once.
Blue Green Luffy is capable of rebuilding quickly, but its strength comes in swinging with so many bodies the opponent can't possibly clear them all. The compounding impact of those leftover swings is what gives the deck so much of its long-term power. If you swing before out-swarming your opponent, you risk opening yourself up to easy clears.